From Concept to Print: Mastering the Graphic Design Workflow
Embarking on a graphic design project can be an exhilarating journey from a spark of inspiration to a tangible, printed masterpiece. Let's walk through the step-by-step process of creating print-ready designs, ensuring your vision comes to life with precision and impact.
1. Conceptualization and Brainstorming
Every great design starts with an idea. Begin by clearly defining your project goals, target audience, and key messages. Use mind mapping techniques or mood boards to visualize your concepts. This stage is all about letting your creativity flow unrestrainedly.
2. Research and Inspiration
Dive deep into research. Explore current design trends, analyze competitor designs, and gather inspiration from various sources. This step ensures your design is both original and relevant to your audience.
3. Sketching and Initial Designs
Put pencil to paper (or stylus to tablet) and start sketching your ideas. Don't worry about perfection; this stage is about exploring different layouts, compositions, and visual elements.

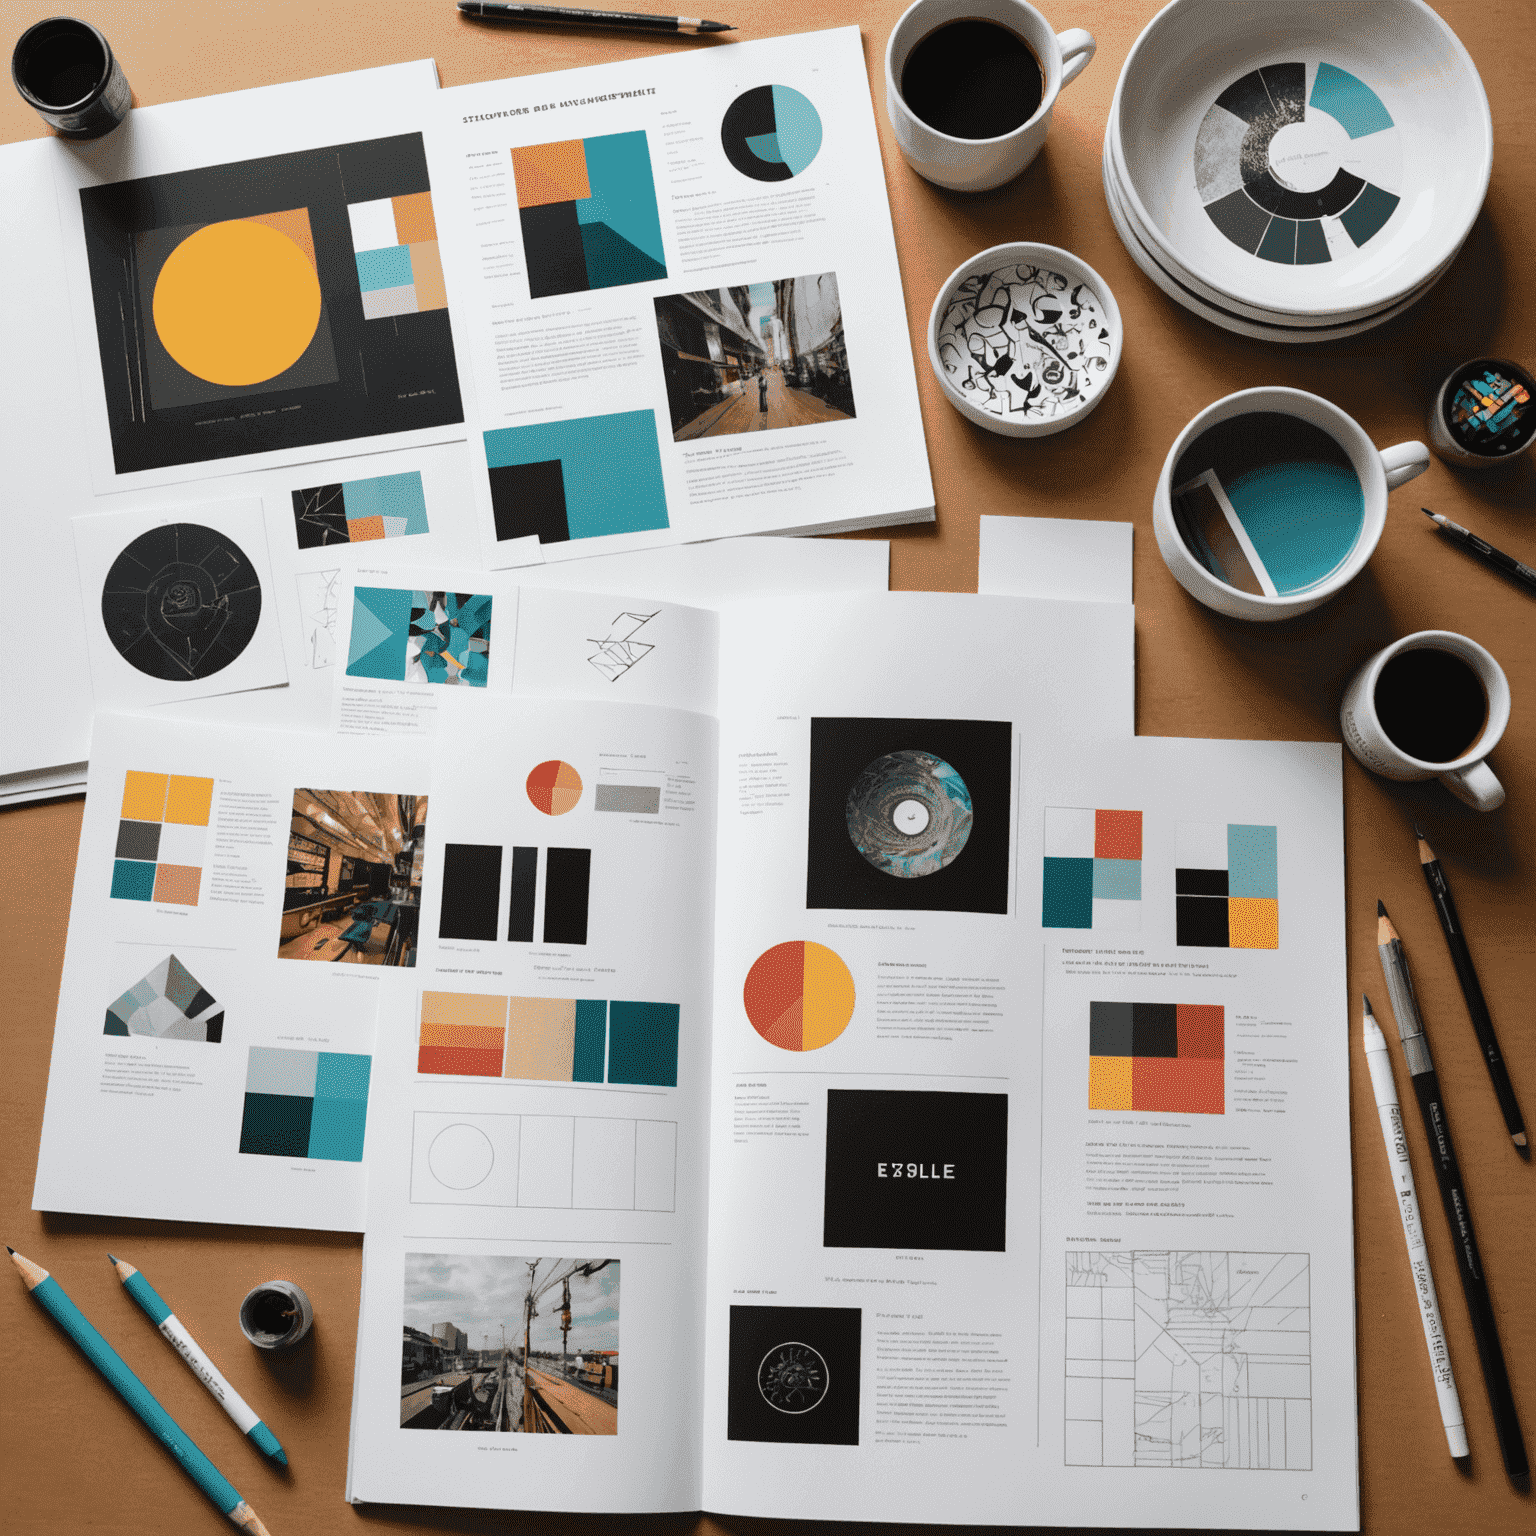
4. Digital Development
Transfer your best sketches to digital format using professional design software. This is where you'll refine your layouts, experiment with typography, and start building your color palette.
5. Color Selection and Application
Choose a color scheme that aligns with your brand and the project's goals. Consider color psychology and how different hues interact. Apply your palette consistently across all design elements.
6. Typography and Text Layout
Select fonts that complement your design and enhance readability. Pay attention to hierarchy, spacing, and alignment to ensure your message is communicated effectively.
7. Incorporating Images and Graphics
Add high-quality images, illustrations, or custom graphics that support your design concept. Ensure all visual elements are cohesive and contribute to the overall message.

8. Refinement and Feedback
Polish your design, paying attention to details like alignment, spacing, and visual balance. Seek feedback from colleagues or clients and make necessary adjustments.
9. Preparing for Print
Convert your design to CMYK color mode, ensure proper resolution (typically 300 DPI for print), and add bleed and trim marks. Double-check that all fonts are embedded or outlined.
10. Proofing and Final Checks
Request a physical proof from your printer. This allows you to check color accuracy, paper quality, and overall print quality. Make any final adjustments based on the proof.
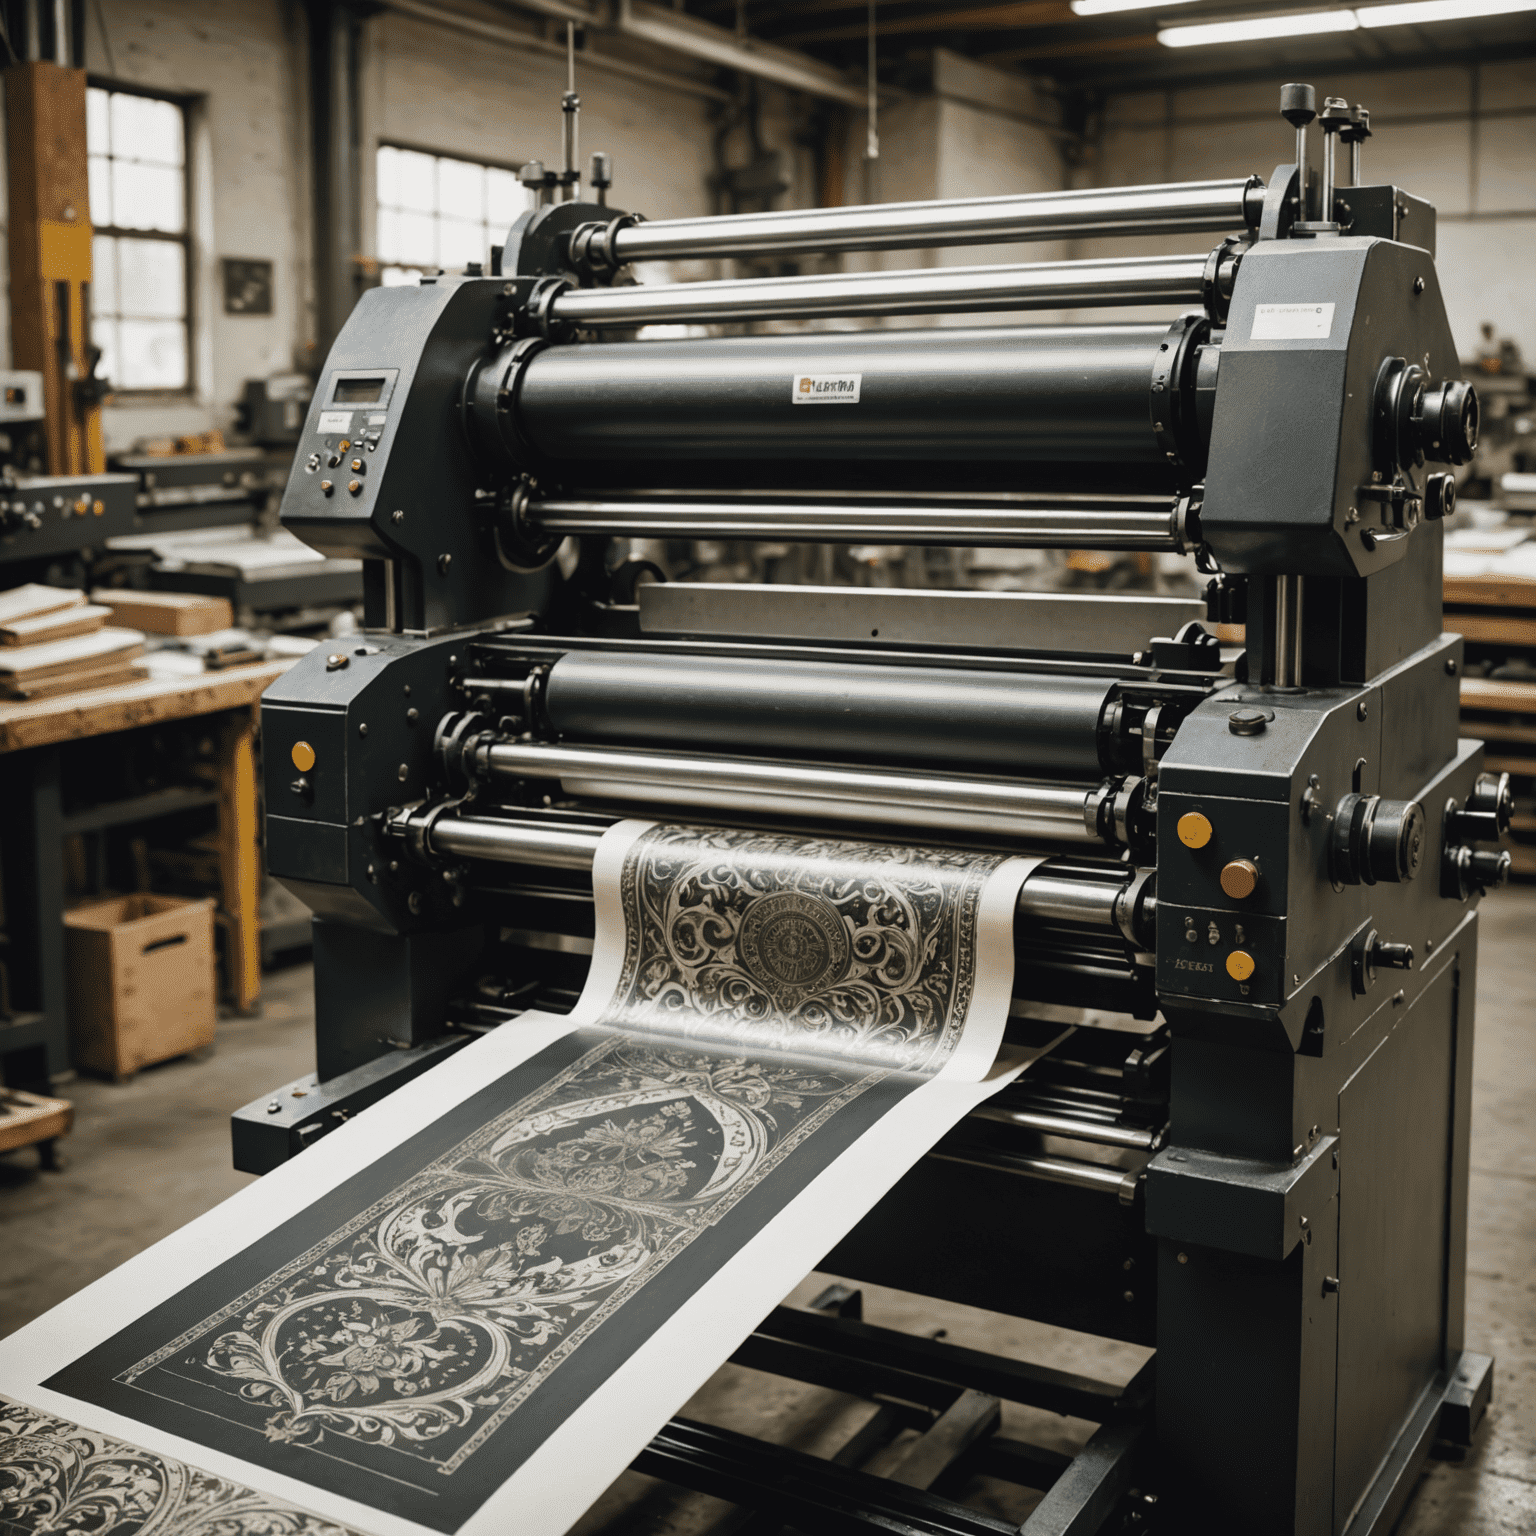
11. Print Production
Once everything is perfect, give the green light for full production. Stay in communication with your printer to address any last-minute concerns.
Conclusion
Mastering the graphic design workflow from concept to print is a rewarding process that combines creativity with technical precision. By following these steps and paying attention to detail at every stage, you'll create stunning, print-ready designs that make a lasting impression.
Remember, practice makes perfect. The more you engage with this workflow, the more efficient and effective your design process will become. Happy designing!